I loved this decorative Farmhouse Window from the first time I saw it on a blog post by Michelle last year, but I just couldn’t think of anywhere I could hang it. By the time I figured out a place, I couldn’t find the fence sections. You can bet I snatched them up the first time I found them in the store this year!
The heart wreath was an earlier project. I want to replace it with a boxwood wreath, but that will entail a trip to the city for supplies.
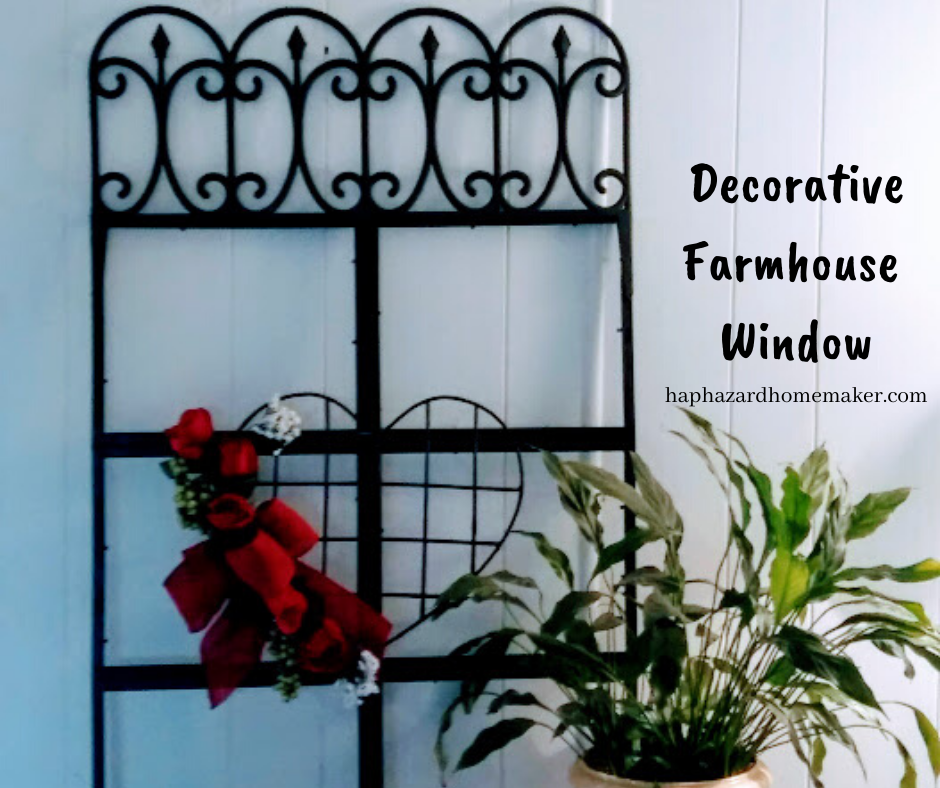
It costs less than $8 in supplies to make and was actually pretty quick, if you don’t count the two or three 24 hour drying periods. (There are much quicker drying time glues, if you are in a hurry) My farmhouse window is still black, because I am undecided about whether or not to paint it. Michelle painted hers an off-white, which was really pretty.
Oops . . . I see I forgot to remove the little things on the back of the frames that are meant to hold the glass, picture and everything in the frame.
We are a participant in the Amazon Services LLC Associates Program, an affiliate advertising program designed to provide a means for sites to earn advertising fees by advertising and linking to Amazon.com and affiliated sites at no additional cost to you.
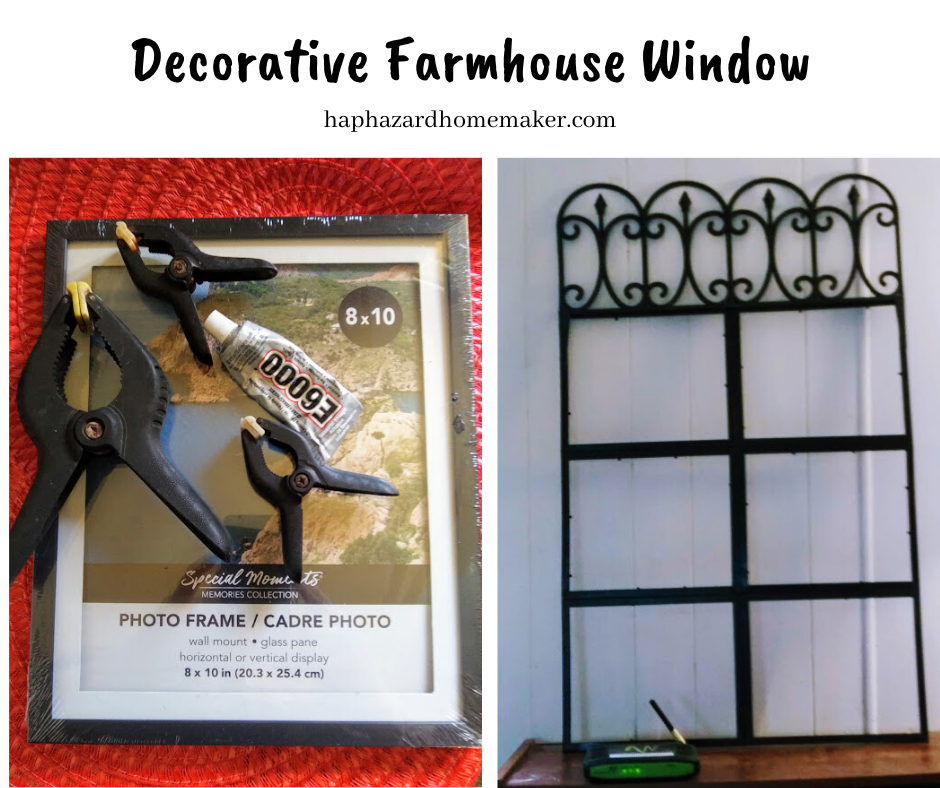
I bought the six 8″ x 10″ picture frames and the garden fence section at Dollar Tree. These are absolutely plain plastic frames with no grooves or adornments. We already had some gripper clamps in various sizes. I had bought a large bag of them at Walmart for $10 or $12 years ago.
I used E6000 glue, but the drying time is 24 hours. (Again, check other glues if you need quicker drying times) Dollar General, hobby stores and Amazon carry it. I bought a tube at Walmart twice as large (2 oz) for $1 less than Dollar General.
Remove everything from the frames and set aside. I haven’t figured out a plan for them yet, but they are not needed for this project. Lay the frames out horizontally so they line up with the fence section. Be sure to put down paper or an old plastic tablecloth. Because we didn’t have enough clamps, we glued each horizontal pair together and let them dry 24 hours, then glued the three pairs together. Always double check for right orientation before gluing. Just saying . . .
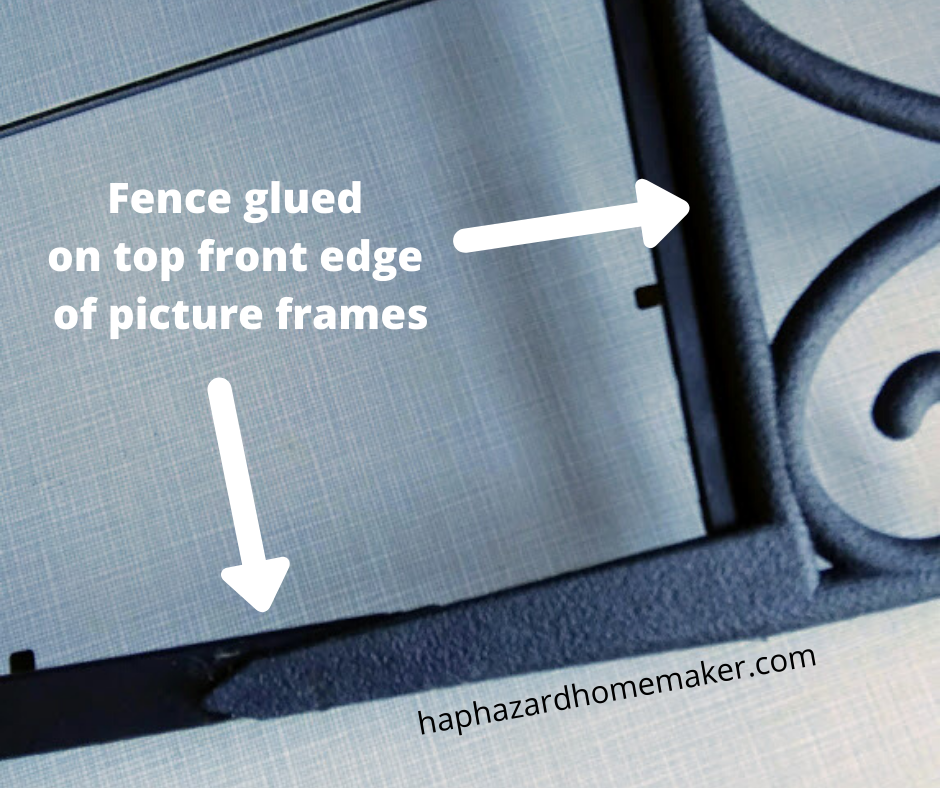
After much consideration, I decided I wanted the plastic fence section attached as shown in the photo below for added strength. Hubby removed the center stake on the bottom of the fence section and used a Dremel to sand smooth the cut out. The bottom edge of the fence section is glued on the top 3/8″ edge of the front of the frames, with the outer edge stakes down the top front sides as shown in the picture below.
There are so many possibilities to decorate this decorative Farmhouse Window to suit your own taste and the room it will go in. Pop over to Michelle’s blog to see how she put her’s together and decorated it. She has a lot of easy DIY crafts on her blog!
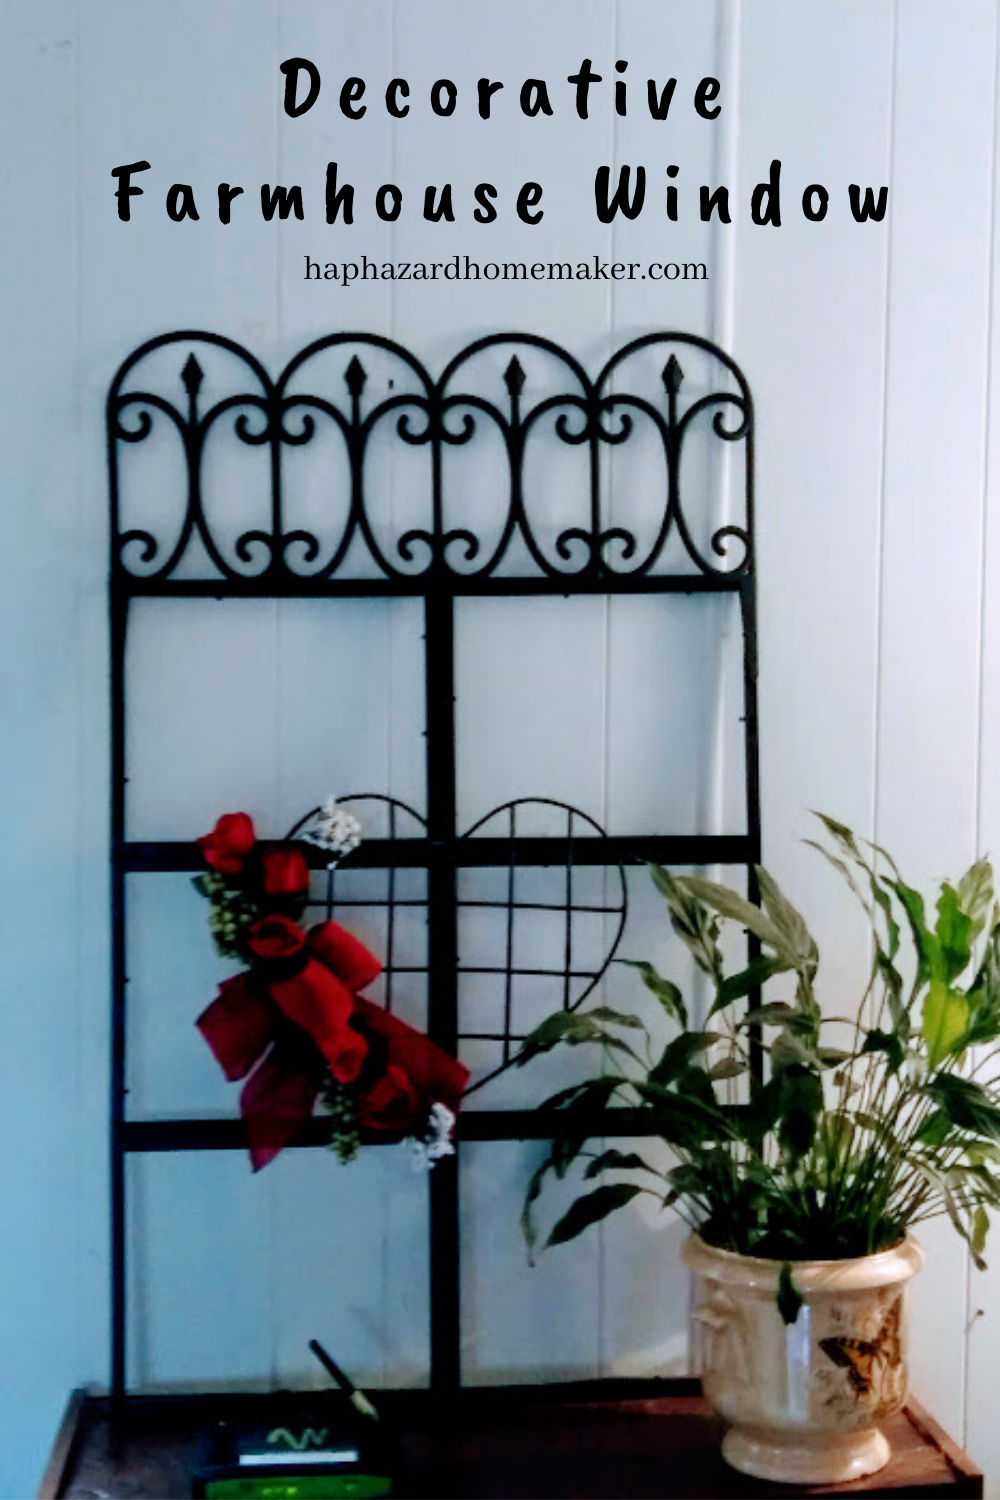
If you make one, I would love for you to share a photo in the comments under this post on my Facebook page.

Your window looks amazing! I love it in black. The heart wreath looks cute on it, too. It makes my day knowing that I’ve inspired someone and I love seeing how you put this together. Thank you so much for the mention!
LikeLiked by 1 person
Thank you, Michelle! Took me a long time to figure out the Dollar Tree thing, but now know to pick up certain items the first time I find them. 😀
LikeLiked by 2 people
Very clever! Cute project, and I love E6000, my favorite glue!
Jenna
LikeLiked by 1 person
Thank you, Jenna! 🙂
LikeLiked by 1 person
Great project! And I love that it is so pretty, and yet inexpensive to make. 🙂
LikeLiked by 1 person
Thank you, Linda! 🙂
LikeLiked by 1 person
This looks great, I will have to check out Michelle’s as well, so creative the two of you. I bet this would be pretty in a large garden pot with a vine growing around it.
LikeLiked by 1 person
Well, Michelle is anyway, I stole her idea. 😀
You make have to do some reinforcing to use it for a vine, but I agree it would look really pretty! Thanks a bunch!
LikeLiked by 1 person
This is pretty neat. I would of never thought it was made out of Dollar Tree items. Cool!
LikeLiked by 1 person
Thank you 😊
LikeLike